 Pin It
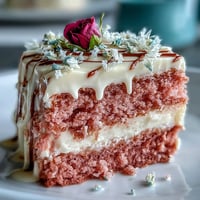
 The gentle scent of rosé mingled with vanilla floated through my kitchen the first time I made this pink velvet cake, and I found myself humming without even realizing it. The promise of something truly celebratory lingered in the air—this dessert simply looks and feels like a party waiting to happen. My hands were streaked with the prettiest shade of pink as I mixed the batter, making me smile at how a little food coloring can feel like magic. Baking this cake, with shimmering gold drips and petal-pink layers, felt like painting a love letter to a special moment. It’s the kind of showstopper dessert that makes even a gray Tuesday sparkle a bit.
I remember nervously balancing the cake in my arms on the way to my friend’s bridal shower, quietly praying the golden drips would survive the car ride. When we lifted the lid, a hush actually fell over the room—the sparkly cake stole the spotlight for a moment before the laughter started again. Watching my friend’s delighted reaction was honestly better than tasting the first, triumphant forkful. I’d never seen so many people crowd around for phone photos of a dessert! It made me realize just how much joy one cake can bring to the right moment.
Ingredients
- All-purpose flour: Gives the cake structure and a fluffy crumb—it helps to sift for the lightest layers.
- Granulated sugar: Sweetens and keeps the cake tender; rubbing it with the zest of a lemon is lovely, but optional.
- Baking soda: Key for rise, especially with buttermilk and vinegar giving lift and lightness.
- Fine salt: Just a touch balances out the sweetness and deepens flavor.
- Cocoa powder (unsweetened): Adds color and a subtle tang, so don’t skip even if it seems like a tiny amount.
- Vegetable oil: Gives each bite a richness and keeps the cake moist for days.
- Eggs, room temperature: Blend in easily and add structure—a cold egg can stubbornly resist mixing in.
- Buttermilk, room temperature: Adds tang and moisture, making a softer crumb; let it sit out while prepping.
- Rosé wine: Try a dry or sparkling version for a hint of floral, wine-kissed flavor without being too sweet.
- Vanilla extract: Always choose pure vanilla for the best aroma in both cake and frosting.
- White vinegar: Reacts with soda for extra velvet softness; you won’t taste it in the end.
- Pink or rose gel food coloring: Use just enough for a dreamy blush—start with a little and work up.
- Unsalted butter, room temperature: Beating it until creamy makes the buttercream silky and airy.
- Powdered sugar, sifted: Prevents lumps and creates the smoothest frosting; go slowly to avoid a sugar cloud.
- Heavy cream: Enriches the gold drip for smooth, pourable texture.
- White chocolate chips: Melt beautifully for the drip and pair perfectly with the rosé notes.
- Edible gold luster dust: For painted-on shimmer—always check it's labeled food-safe.
- Vodka or clear lemon extract: Mixes with luster dust to make a quick edible paint that dries fast.
- Pinch of salt (for buttercream): Makes the frosting less sweet and far more balanced.
Tired of Takeout? 🥡
Get 10 meals you can make faster than delivery arrives. Seriously.
One email. No spam. Unsubscribe anytime.
Instructions
- Set the stage:
- Preheat your oven—it’s essential for an even bake—then line three cake pans with parchment so every layer releases effortlessly.
- Blend the dry mix:
- Sift flour, sugar, baking soda, salt, and cocoa into a bowl; inhale the cocoa’s subtle perfume as you whisk everything together.
- Mix up the wet ensemble:
- In another bowl, blend the oil, eggs, buttermilk, rosé, vanilla, and vinegar until smooth and glossy—no streaks left behind.
- Bring it all together:
- Pour wet over dry and fold gently until just combined, then watch as the pink coloring swirls in to create a rosy batter—add more until it’s just right.
- Divide and bake:
- Spread the batter evenly into pans, smoothing the tops; you’ll know it’s ready when a toothpick comes out clean after baking.
- Cool, don’t rush:
- Let the cakes rest briefly in pans before lifting them to a rack so they cool completely—I like using this break to prep the frosting.
- Whip up your buttercream:
- Beat butter by itself until pale and fluffy, then beat in powdered sugar a little at a time to dodge the sugar storm.
- Add delicate flavor:
- Blend in rosé and vanilla, a pinch of salt, and keep whipping until the frosting turns cloud-like and spreadable.
- Layer and crumb coat:
- If needed, level your cakes, then sandwich with a generous layer of buttercream before smoothing a thin coat around; chill for easier handling.
- Perfect the finish:
- Add the final coat of buttercream—take your time, those swirls or sharp sides are a personal signature.
- Gold drip magic:
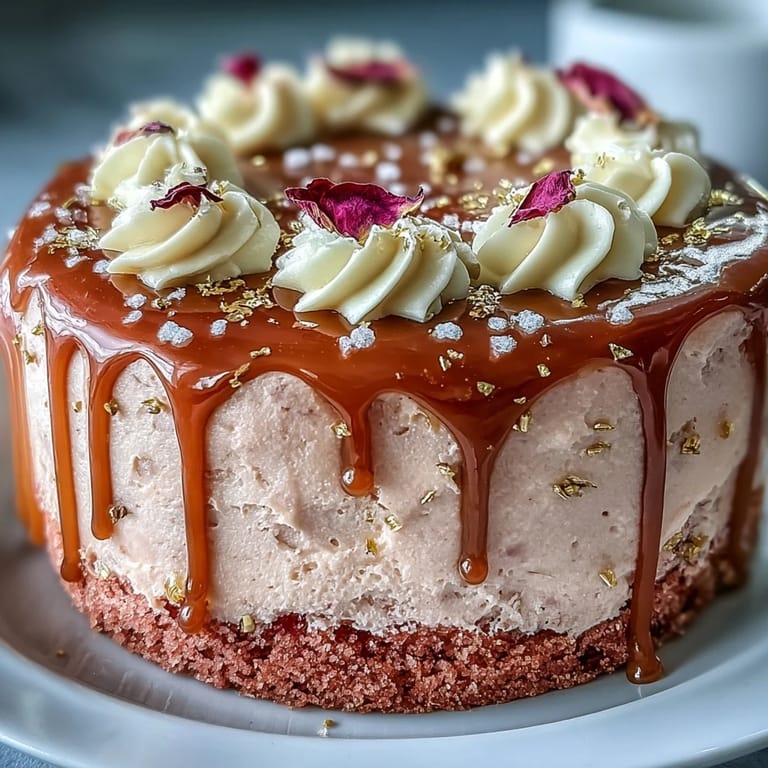
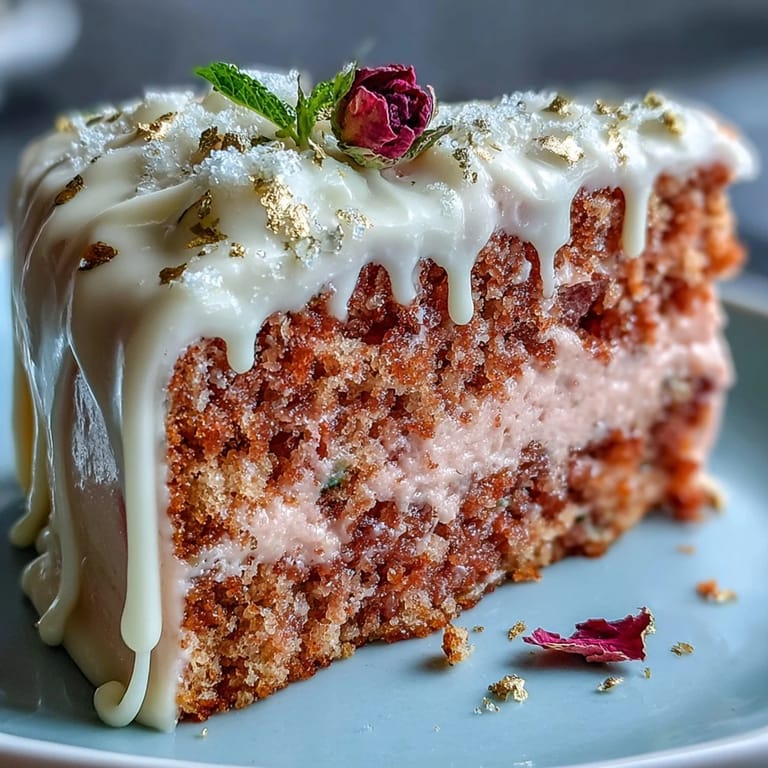
- Melt white chocolate with cream and let it cool slightly, then drizzle over the cake’s edge and pause to watch graceful drips form down the sides.
- Paint the shimmer:
- Once the chocolate’s firm, swirl a clean brush in edible gold paint and bring each drip to life; you might catch yourself holding your breath in concentration.
- Decorate with flair:
- Add edible gold, rose petals, or just a scatter of berries—whatever makes you happiest.
 Pin It
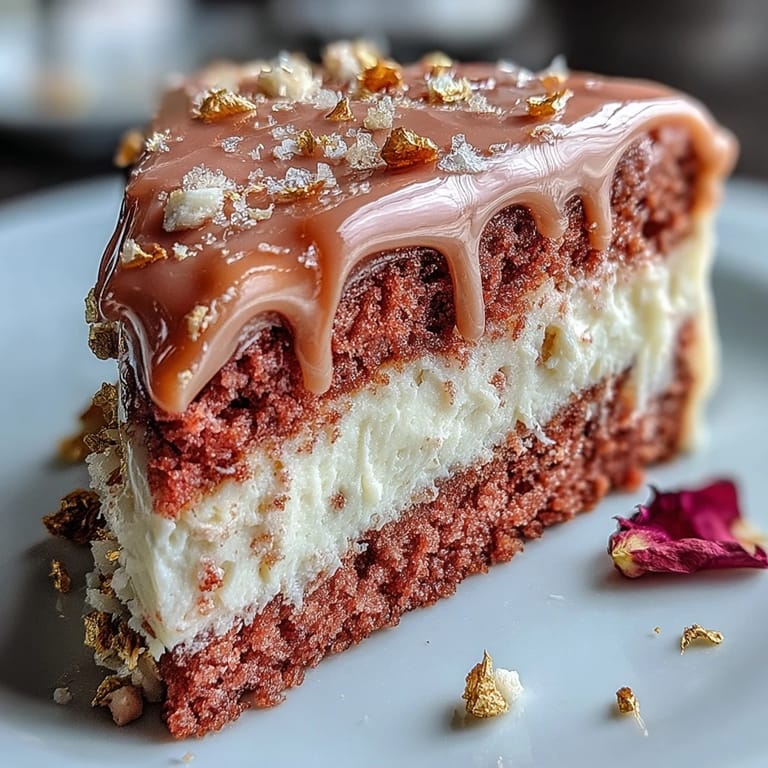
 The first slice always feels a little daring—especially when you admire the pristine gold drip—but there’s genuine joy when soft, blushing cake appears beneath the knife and everyone leans in for a closer look. At that moment, the bridal celebration shifted from excited anticipation to full-on delight, with laughter and little cheers following every forkful. Food memories like these linger much longer than the day itself, and that’s the true magic of baking for others.
Nailing the Gold Drip Without Stress
I used to hold my breath trying to get perfect drips, only to learn it’s more forgiving than it looks—the trick is to let the melted white chocolate cool just enough so the drips crawl instead of run. Using a spoon instead of a squeeze bottle helped me control each drip and loosen my grip on perfection, too. And honestly, with gold painted on, tiny mistakes pretty much disappear. Give yourself time; if you’re nervous, try a practice round on a plate first. The confidence will come quickly after the first go.
Making Ahead and Storing Like a Pro
Sometimes, I make the cake the evening before and chill it fully assembled, then bring it out well before the party so the buttercream softens and flavors bloom. The gold drip keeps its shine for a good day or two if the humidity is low. Any leftover cake can be tucked into an airtight container, ready for those post-party nibbles. I once snuck a slice for breakfast and discovered it’s just as magical paired with coffee as it is with sparkling wine. Save a sliver for yourself—you’ve earned it!
Decorating for Pure Joy (and Less Mess)
Keeping a damp cloth nearby helps wipe away any stray gold luster dust, especially if your kitchen table ends up looking like a fairy workshop after decorating. I like to stage the edible flowers or berries before adding them, so I can change my mind without smudging the frosting. Working with a turntable and an offset spatula really gave the cake professional polish without fuss. During one bridal shower, a friend suggested adding sparkly sprinkles—now every ‘special cake’ gets a touch more glitter for good luck.
- Do a test drip before committing to the cake.
- Chill the cake in between decorating steps for crisp edges.
- Always use food-safe gold products for that final flourish.
 Pin It
 May your next bridal shower be extra sparkly—and may this cake bring as much laughter and love to your table as it always has to mine.
Recipe FAQs
- → Can I use sparkling rosé instead of still rosé?
Yes. Sparkling rosé adds a subtle effervescence and light floral note; reduce any extra liquid elsewhere if batter seems too loose. Use sparingly in the buttercream to avoid thinning.
- → How do I get a consistent rosy pink color?
Use gel or paste food coloring for a vibrant, even hue. Add a small amount to the batter and adjust in stages until you reach the desired shade to avoid over-coloring.
- → What’s the best way to make the gold drip edible and shiny?
Make a white chocolate ganache drip, cool slightly, then mix edible gold luster dust with a tiny amount of vodka or clear lemon extract to form a paint. Brush over the set drip for a safe, shimmering finish.
- → How can I prevent the layers from sliding when stacking?
Level each layer, spread an even layer of buttercream, and chill the stacked cake after applying a thin crumb coat. Chilling firms the buttercream and helps layers stay aligned during final frosting.
- → Can this be made ahead of time?
Yes. Bake and assemble a day ahead, refrigerate covered, and bring to room temperature before serving. Apply delicate gold painting shortly before service to preserve its shine.
- → How should I store leftovers?
Store slices in the refrigerator covered for up to 3 days. Bring to room temperature 30–60 minutes before serving to restore texture and flavor.